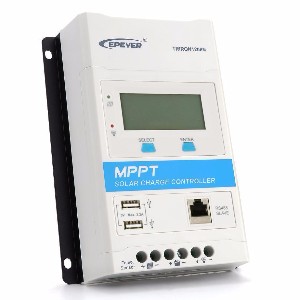
Wiring a solar panel via a solar charge controller
Solar charge controllers are extremely simple to wire. Most only require four connections. Two wires - positive and negative - run from the solar panel to the charge controller, and another two wires run from the charge controller to the battery bank. That's it!

1) Connect the Controller to the Battery
The cable from the charge controller to the battery should be kept short, and needs to have sufficient cross-section to avoid voltage drop. Voltage drop not only wastes power by heating up the cables, but prevents the charge controller sensing the battery voltage correctly.
We always recommend putting a fuse in the positive line between the charge controller and the battery. That way if you make a mistake while wiring, or if a wire subsequently comes loose, you don't run the risk of short circuiting the battery bank.
2) Connect the PV Panel cables to the Controller
Solar panels are often supplied with short lengths of wire coming from the junction box on the back, terminated in connectors that are designed specifically for solar panels. The most common type is the 'MC4' connector, made by Multi-Contact. We sell compatible cable and connectors so that you can bring these cables inside to the solar regulator. You should use a good quality abrasion and UV-resistant cable for the outdoor wiring. 'PV cable' is sold for exactly this task, and has two layers of insulation, including a very tough outer sheath.